Provisioning a New Device
Provisioning a new device with Thymis involves creating a fully-configured disk or SD card image for your NixOS system. This process ensures that each device boots up with the exact configuration specified, making deployments quick and consistent.
Step 1: Access the Thymis Dashboard
- Open your web browser and navigate to the Thymis dashboard.
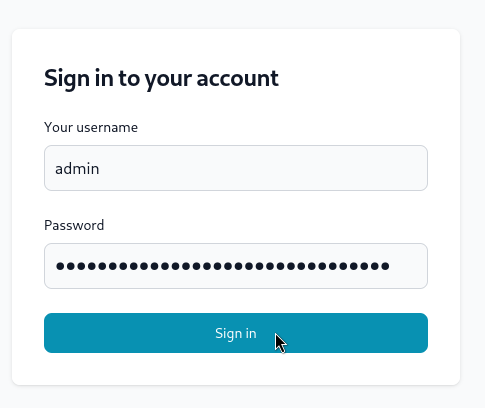
- Log in with your credentials.
Step 2: Create a New Device Profile!
- Click on the Devices tab in the sidebar.
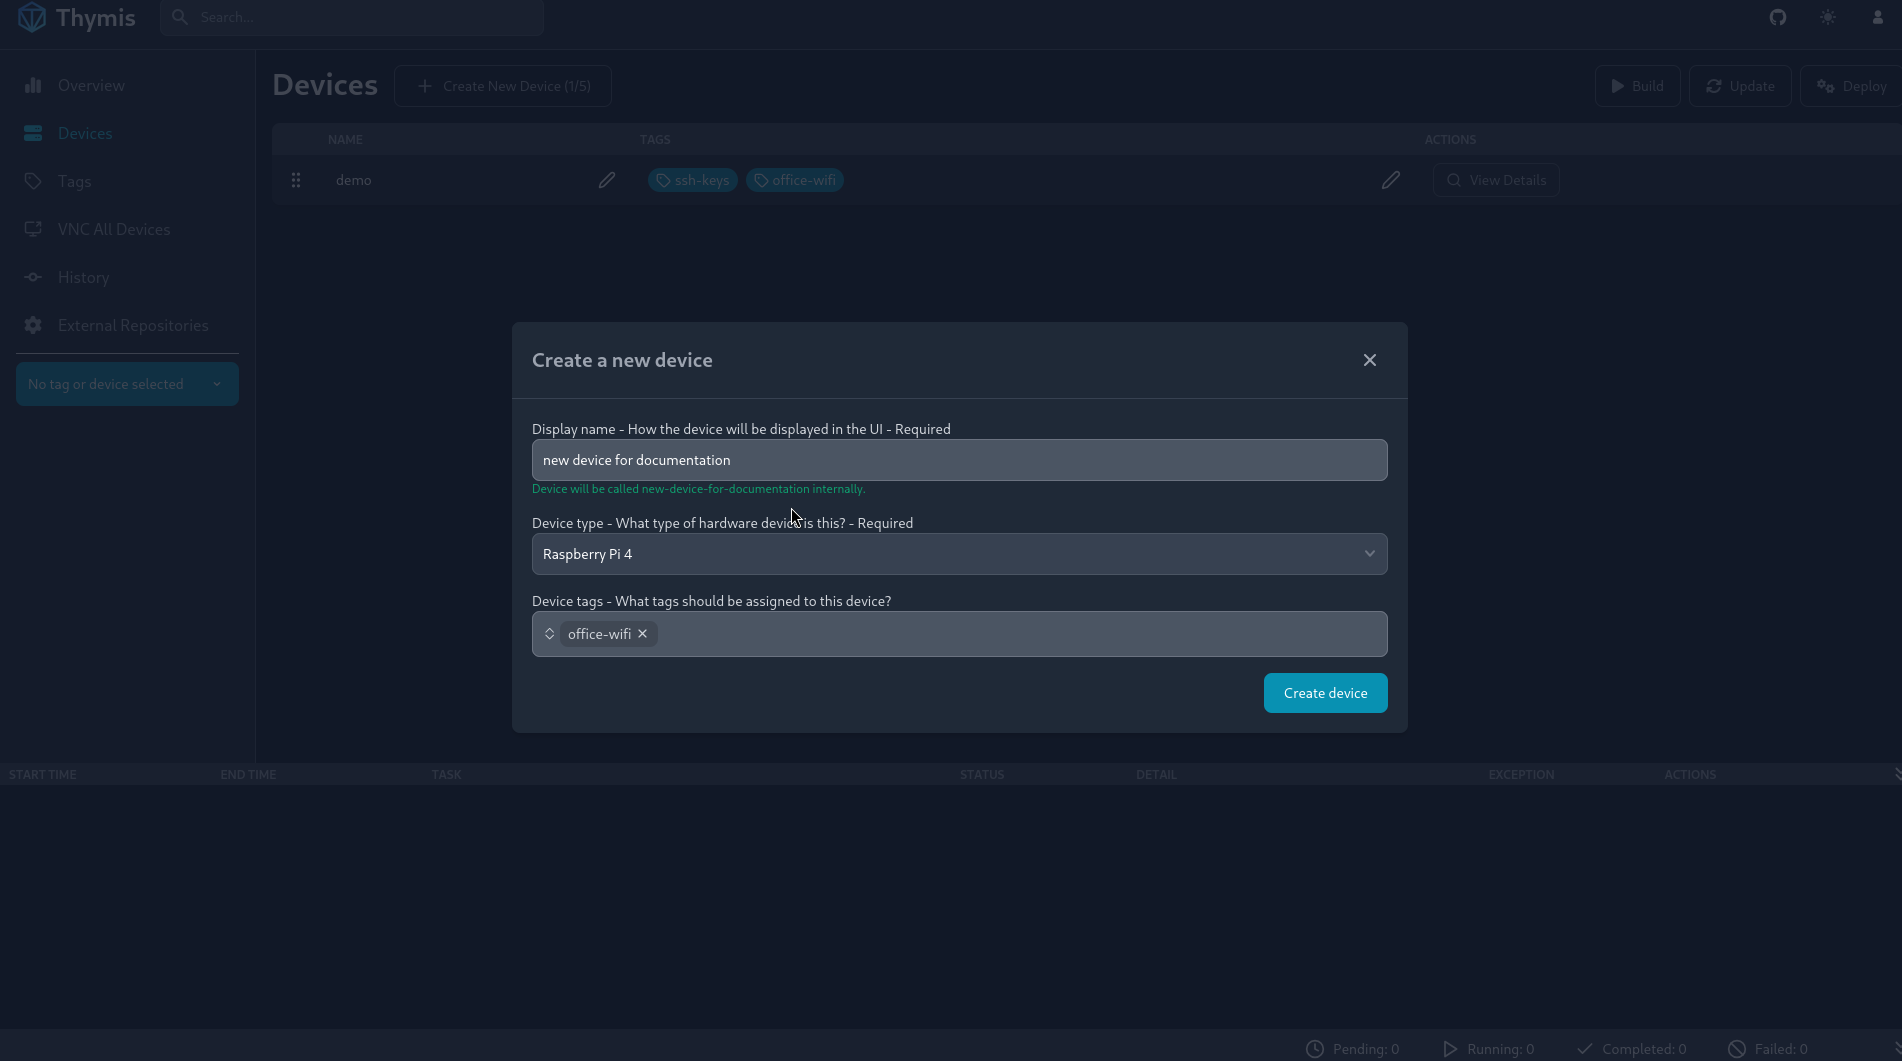
- Select Create New Device.
- Fill in the required details, such as the device name, hardware model, as well as tags to associate with the device.
Step 3: Configure the Device Settings
- In the Devices tab, select View Details for the device you just created.
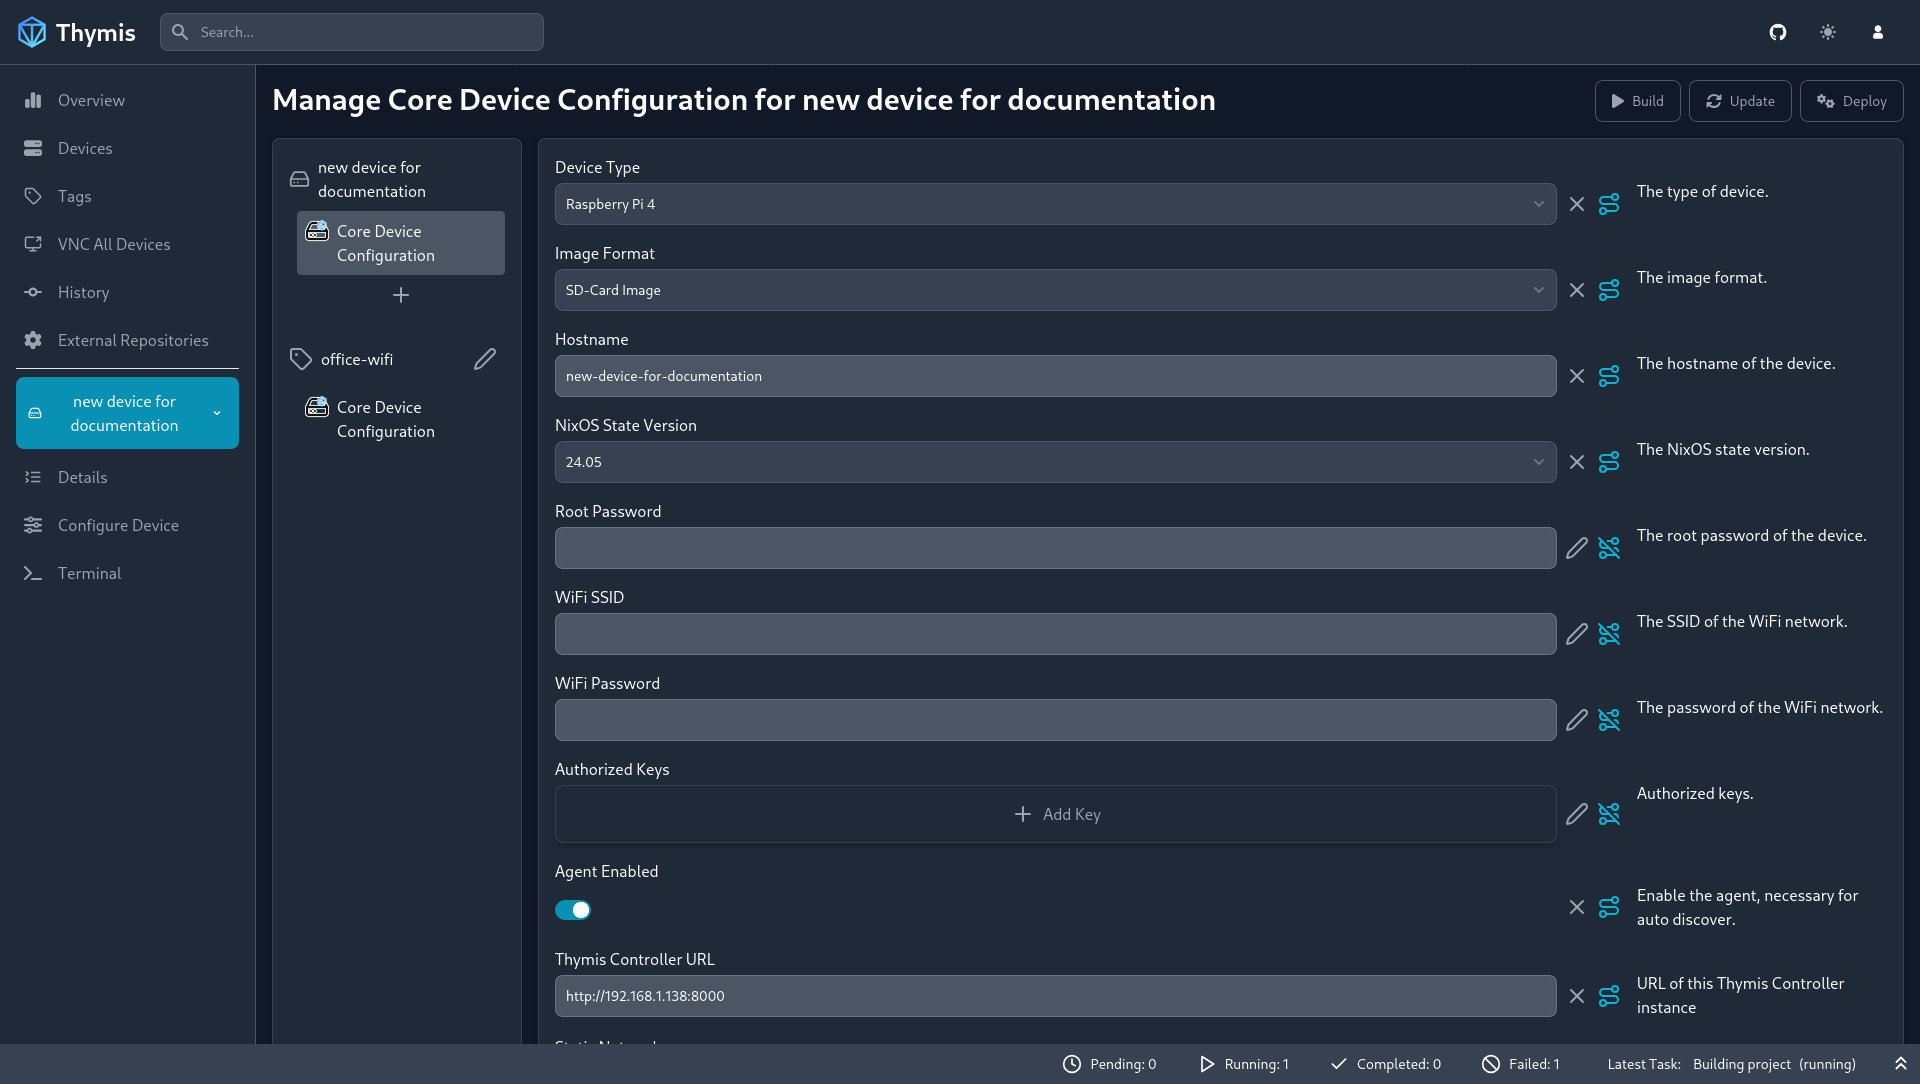
- Click on Core Device Configuration to access the device configuration interface.
- Use the graphical interface to set up the NixOS modules and services you want to include in your device's image.
- Save the configuration when done.
Step 4: Generate the Disk/SD Card Image
- Once your device settings are configured, navigate back to the device details page.
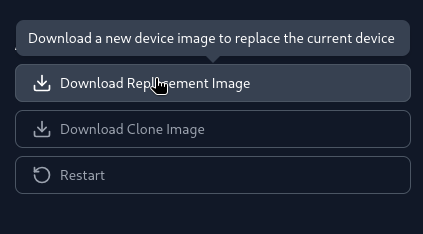
- Click on Download Replacement Image to generate the disk or SD card image for your device.
- A task is created to generate the image. Wait for the task to complete.
- Download the generated image to your local machine.
Step 5: Deploy the Image to Your Device
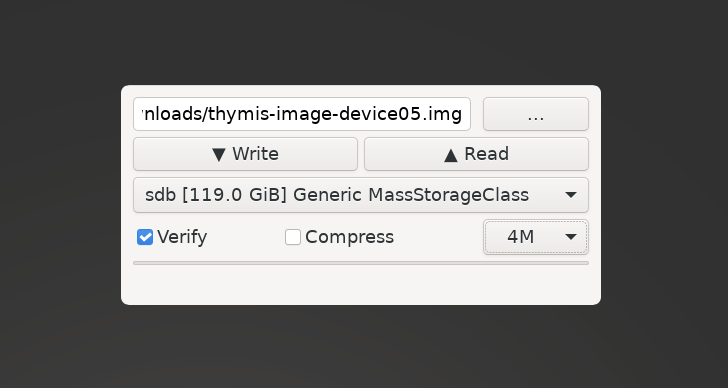
- Use a tool like USBImager or dd to write the downloaded image onto your target disk or SD card.
- Insert the disk or SD card into your device and power it on.
Step 6: Insert the Disk/SD Card into Your Device and Power On
- Insert the disk or SD card into your device.
- Power on the device and wait for it to boot up.
- The device should now be running with the configuration you specified.
Congratulations! You have successfully provisioned a new device with Thymis. For more information on managing your devices and configurations, refer to the System Configuration guide.
